So, what do we know about Alpine Linux and why to install it? First, it is based on musl and BusyBox, secondly, it is the sole independent Linux distribution that provides security for General purposes. Its development was determined by the concept of security and protection against malicious code, it was decided to use PaX and SSP.
It is worth noting his unusually undemanding resource requirements of the system. The apk packages are used, but some will have to install yourself. Leadership, of course, present on the website of the distro that needs no more than 8 MB and a minimal installation to disk requires no more than 130 MB of free space. To manage packages in Alpine uses apk. And some packages that You will need, by default, will not be in the Alpine.
- Installation Of Alpine Linux
- Step 1. Downloading the image
- Step 2. Capture an image
- Step 3. Configuringthe BIOS
- Step 4. Start the installation
- Step 5. The keyboard layout
- Step 6. The name of the computer
- Step7. Network setup
- Step 8. The user’s password
- Step 9.Proxy configuration
- Step 10. The choice of the mirror repositories
- Step 11. Setting up SSH
- Step 12. The choice of installation location
- Step 1of 3. Installation complete
- Step 1of 4. Login
- Step 15. Install the nano editor
- Step 16. Edit the file with the repositories and update
- Step 17. The installation GUI
- Step18.Set the environmentxfce4
- Step 19. Installed file Manager
- Step 20. A set of themes and icons
- Step 21. Set login Manager
- Step 22. StartD–Bus
- Step 23. The completion of the installation.
Installation Of Alpine Linux
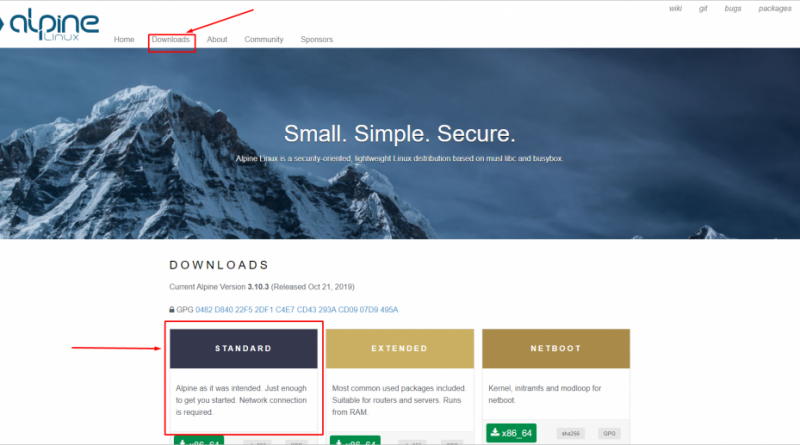
Step 1. Downloading the image
Click on this link https://www.alpinelinux.org/downloads/ and download this:
We need a STANDARD.
Step 2. Capture an image
As usual, if you have Linux, then download Unebootin; if you have Windows, then download Rufus. The links are provided.
Step 3. Configuring the BIOS
Reboot the computer and go into the BIOS. We need to go to the tab Boot and specify in item 1st Boot Device your USB. Then save settings and restart the computer.
Step 4. Start the installation
Say in advance that everything is done via command line.
Write to log into a command shell:
root
Next, execute the command:
setup-alpnie
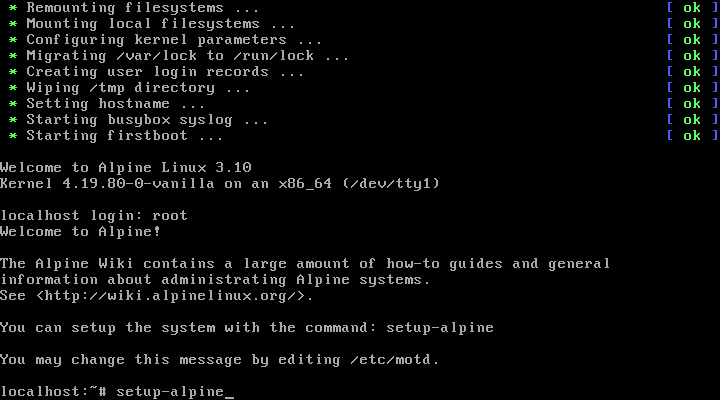
Thus, we start the installation process
Step 5. The keyboard layout
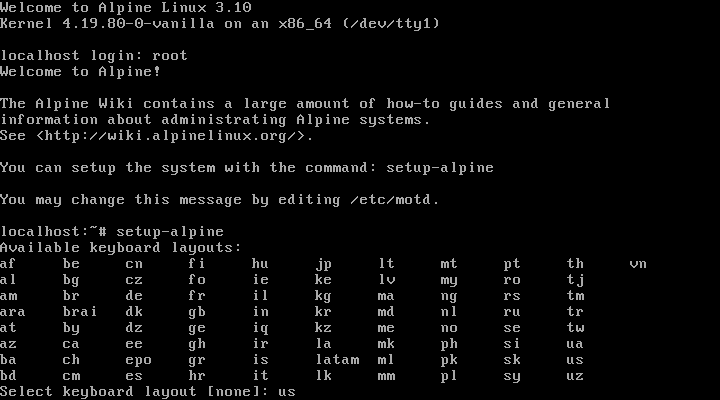
Choose a layout from the list. In my case it is:
us
Click next, and write again:
us
Step 6. The name of the computer
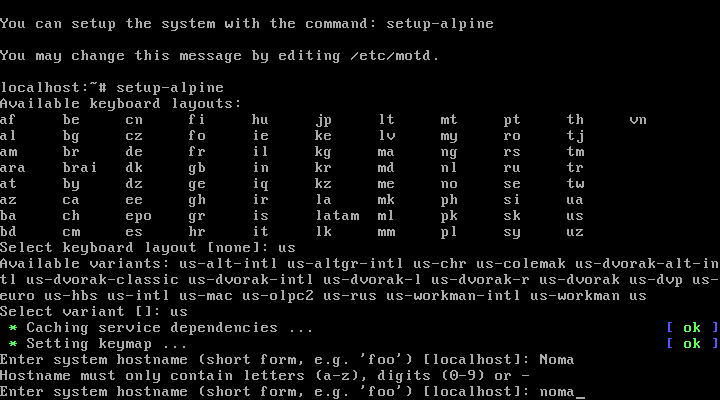
When you specify a computer name please note that you must use numbers and lowercase. For example, the name Noma I couldn’t specify, but the name noma it is held in the parameters.
Step 7. Network setup
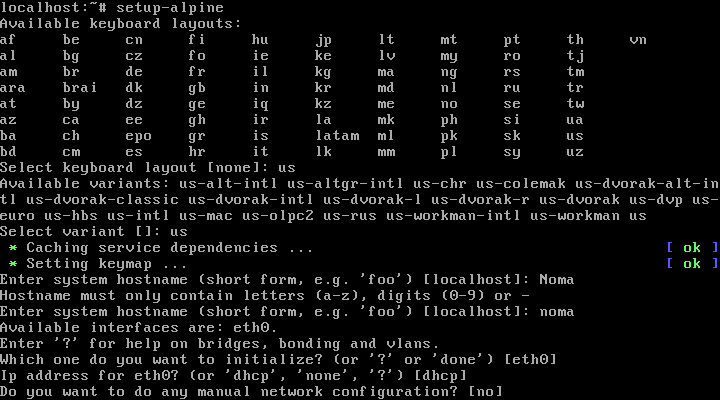
Immediately after the hostname will offer us the settings associated with the Internet. If you have a wired Internet DHCP, just skip them by pressing Enter. All this can be configured then installed directly in the system.
Step 8. The user’s password

Specify a password for the root user. If it is a 6-digit, for example, you will receive a warning that the passphrase is too weak, but this does not prevent the installation.
Step 9. Proxy configuration
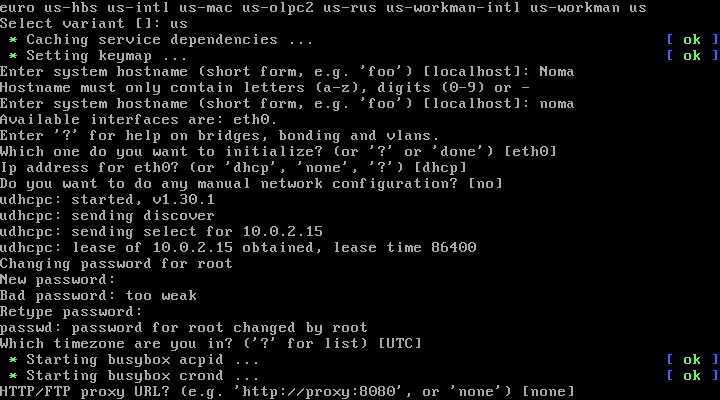
Then you can install a proxy or just skip. In my case, I just pressed Enter and skipped that step, since it is also possible to set, if necessary.
Step 10. The choice of the mirror repositories
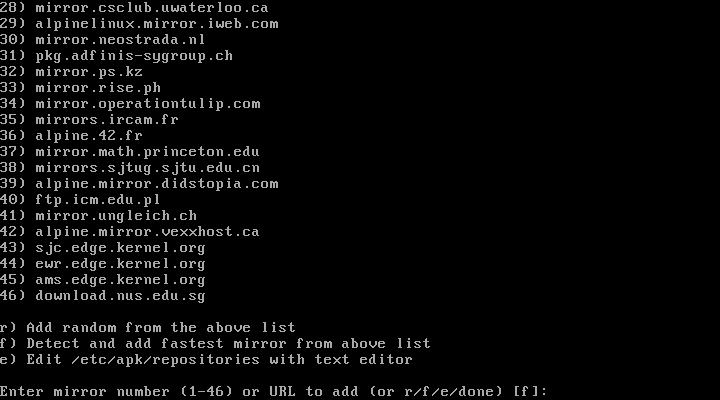
You will be given a list of mirrors, if you do not, the system will examine each and independently choose the most suitable.
Note for residents of Ukraine. If you don’t specify a mirror, you risk getting in Yandex, and with it the installation will not work, as the company is under sanctions. In your case, just choose any other.
Step 11. Setting up SSH
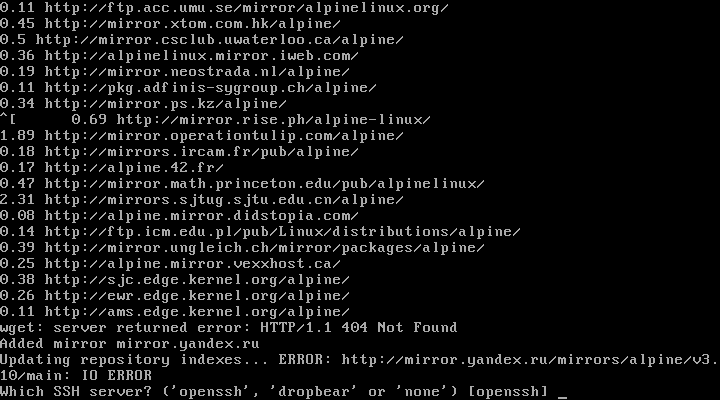
If you want, you can install and ssh server. And again, at this stage it is not necessary, and you will always be able to pick it up later.
Step 12. The choice of installation location
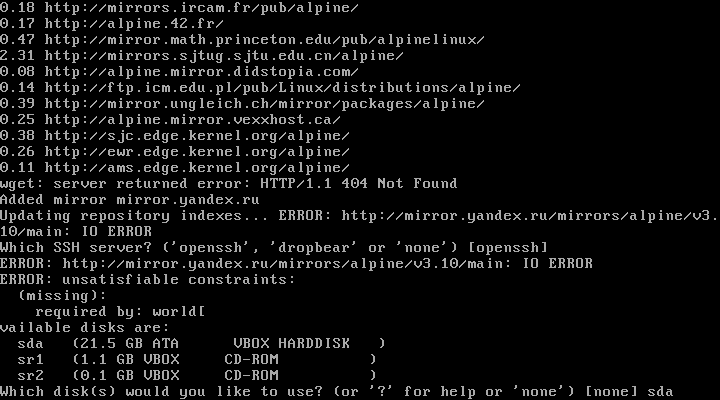
You will be prompted to select any of the available drives to install the OS. I point out the following:
sda
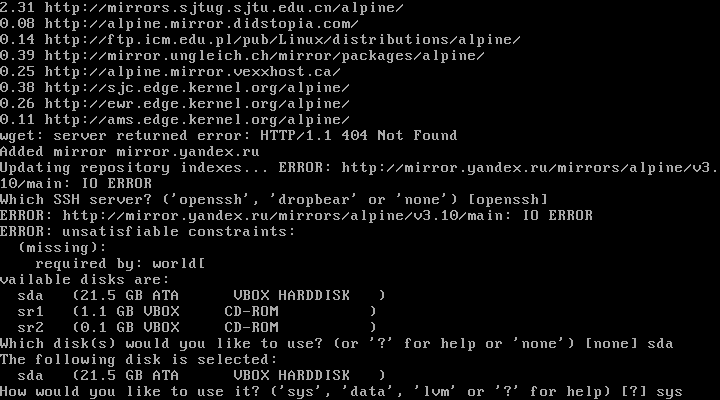
Here you need to select what will be used from this disk. Since it is a system disk, I choose:
sys

Get the warning that all data from the selected disk will be deleted. However, nothing surprising. Write:
y
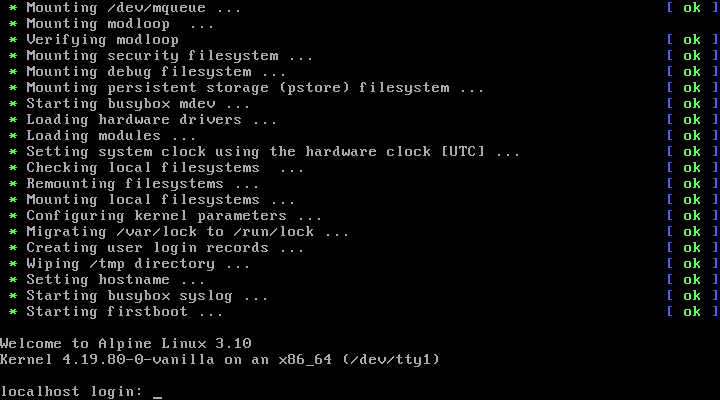
Step 1of 3. Installation complete
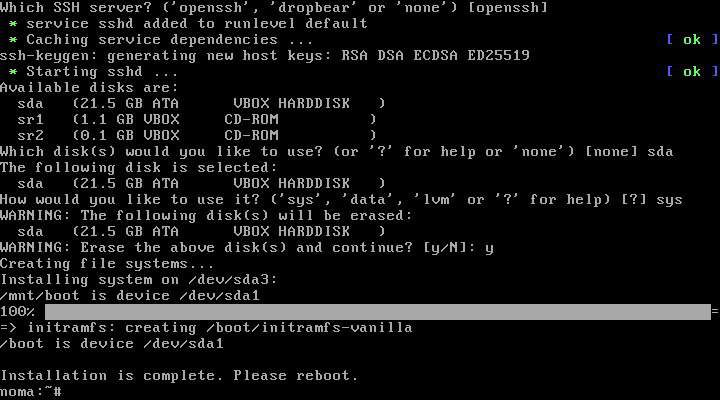
When the installation of Alpine Linux is complete, the system will ask to restart. For this removable media on which the system and reboot with the command:
reboot
Step 1of 4. Login
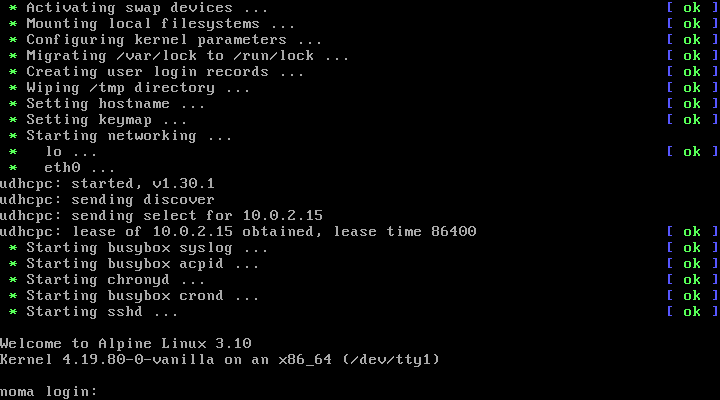
Write in login:
root
Next, write the password that you previously set.
Step 15. Install the nano editor
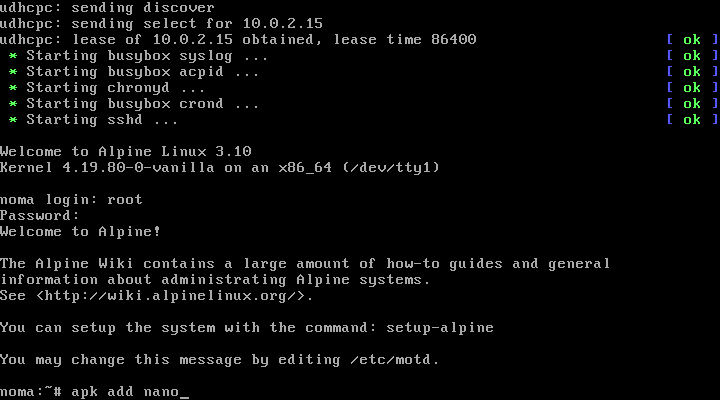
Since we have no editor, we will install. It will be the editor Nano. Do this with the command:
apk add nano
Step 16. Edit the file with the repositories and update

Now we need to edit the file repositories. This will allow us to upgrade the system and continue the installation. Write:
/etc/apk/repositories
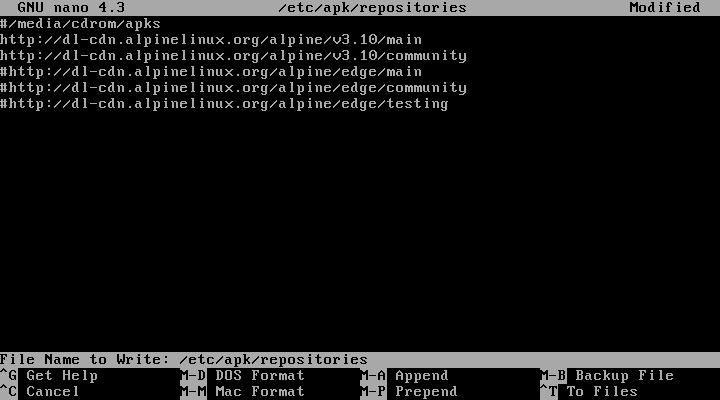
To access the repository community need raskomentiruyte the third line:
#https://dl-cdn.alpinelinux.org/alpnie/v3.10/community
To do this, remove the # in front of it. After that press ctrl+o -> Enter -> ctrl+x. After writing the command:
apk update
Step 17. The installation GUI
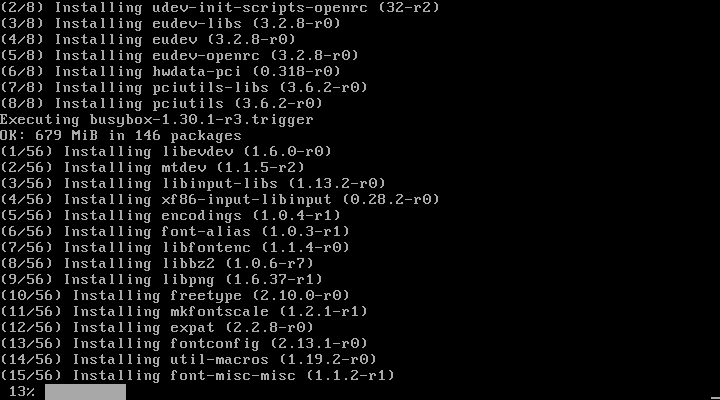
Run the command:
setup-xorg-base
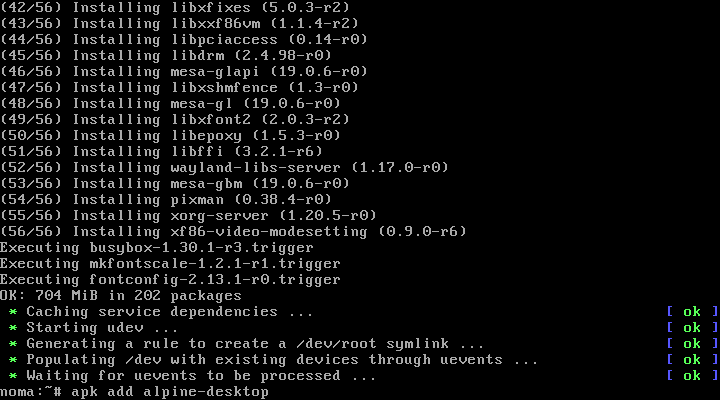
Now, run the command:
apk add alpine-desktop
Step 18. Set the environment xfce4
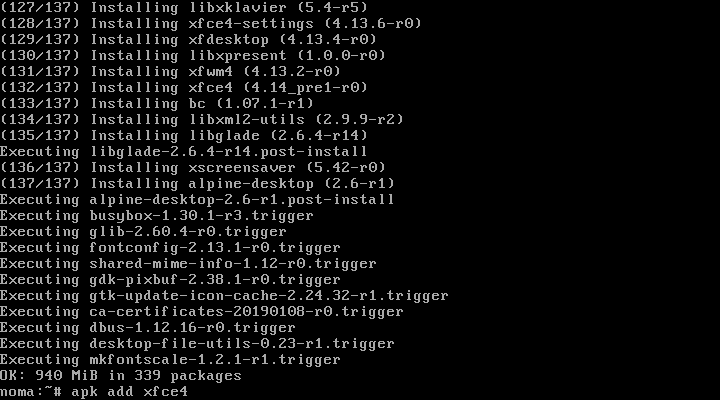
Run the command:
apk add xfce4
Step 19. Installed file Manager
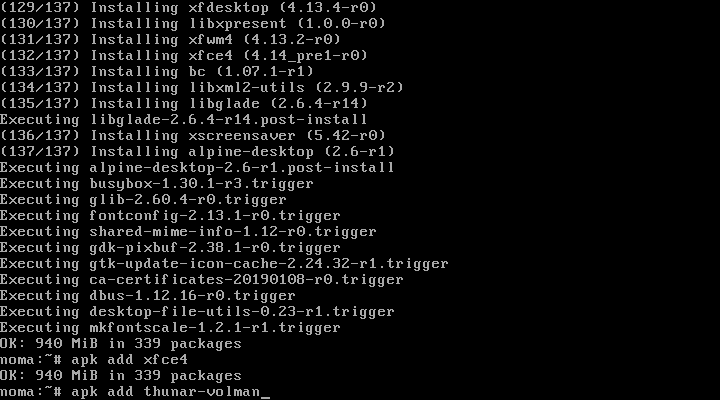
Run the command:
apk add thunar-volman
Rather trivial, but proven.
Step 20. A set of themes and icons
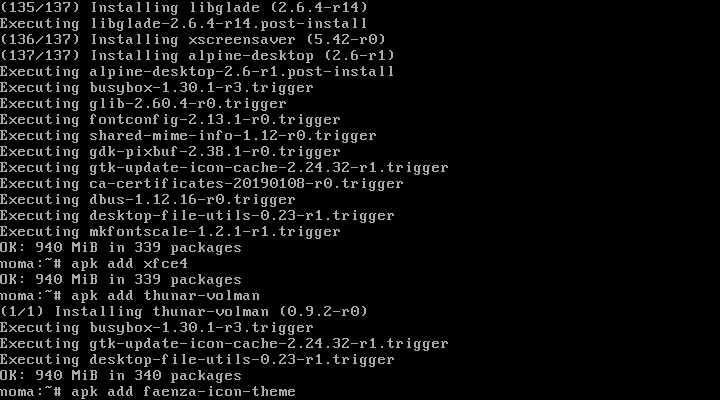
Run the command:
apk add Faenza-icon-theme
Step 21. Set login Manager
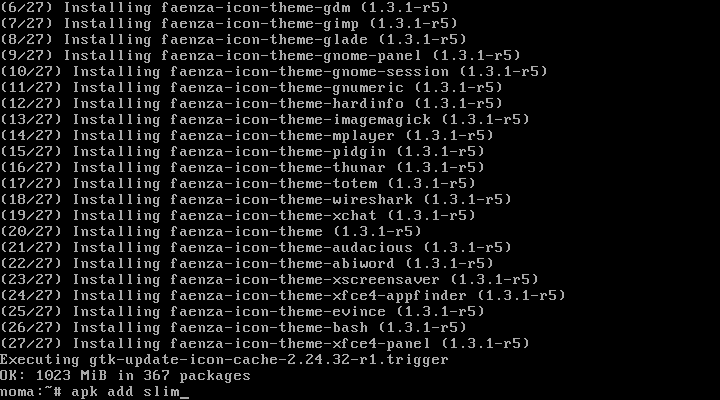
Run the command:
apk add slim
Since the system is lightweight, we will work towards her advantage. This is the answer to the question: why Slim?.
Step 22. Start D–Bus
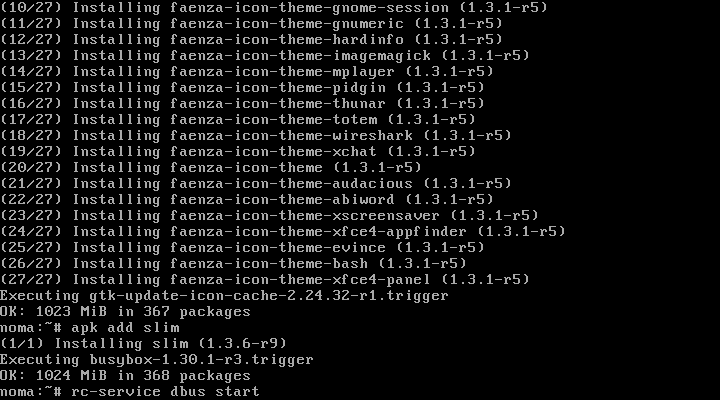
To allow apps interact with each other, we need to start the service inter-process communication (IPC). Run the command:
rc-service dbus start
Works great. Now add it to the startup?
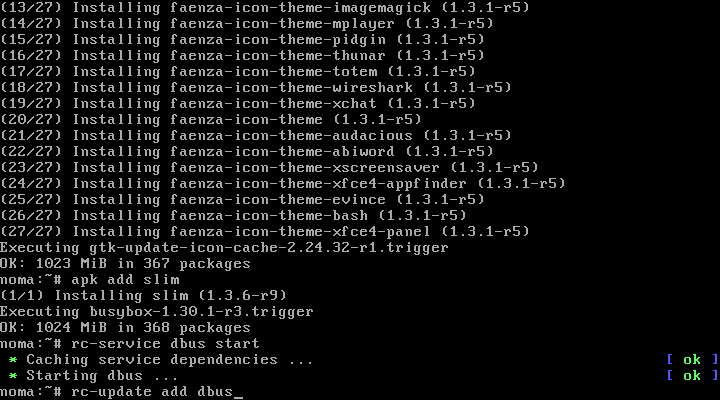
Run the command:
rc-update add dbus
Step 23. The completion of the installation.
Run the command:
reboot
This will allow us to restart the device and log in with graphic interface.
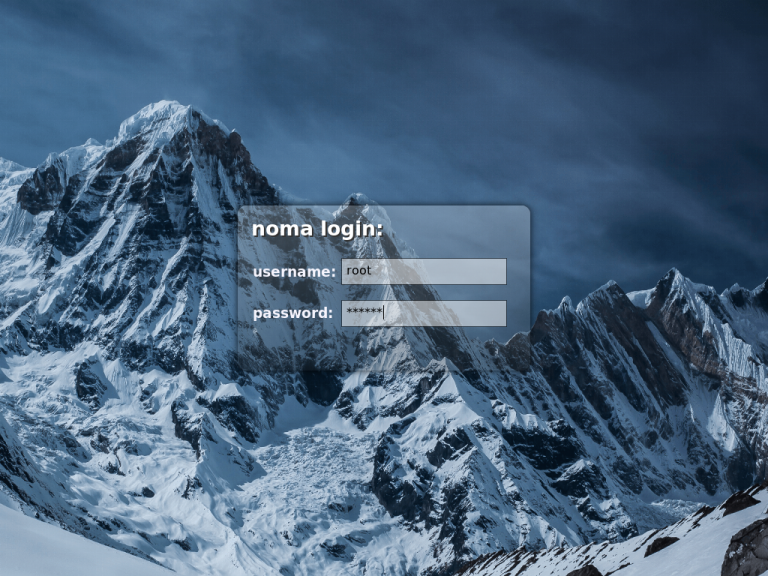
In username write root and set the password early. Well, then Desk.
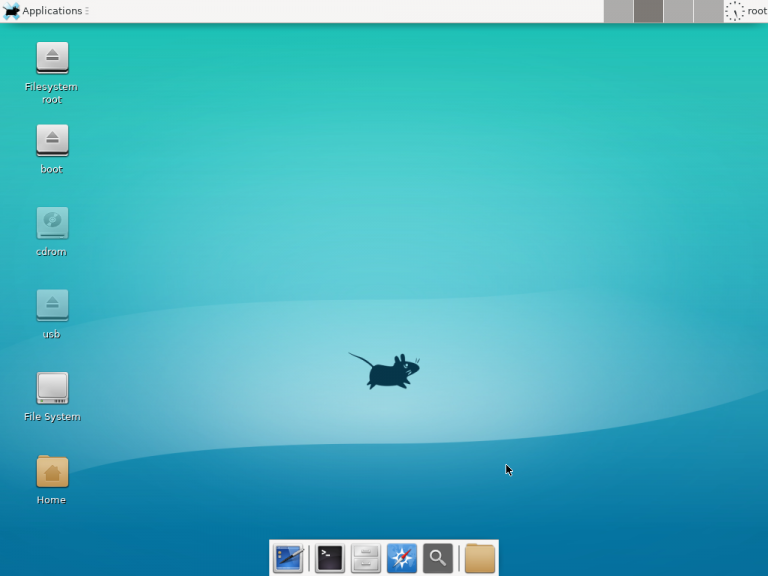
Now you know how to install Alpine Linux, and how to minimally configure the system, so that it could work.